Introduction to Infallible
Table of Contents
Infallible is a prestigious achievement that requires clearing all major raid instances within a difficult time limit and without any players entering Downstate. Completing this achievement requires extreme class and encounter knowledge, optimized compositions and strategies, and the coordination and practice required to string everything together smoothly into a single, perfect run while not permitting a single mistake.
This guide assumes that players are already familiar with raids. Speedrun strategies are not designed for progression, as they sacrifice reliability and simplicity in favour of faster clear times. Players looking for introductions to raid encounters are advised to look elsewhere: various resources to get started can be found here.
Guide Structure
This page contains some general concepts useful for anyone getting into Infallible. The rest of the guide then consists of separate pages for each individual raid instance. Each page is then structured similarly, containing an overview of the wing, some tips on general composition, followed by a more in-depth analysis on individual encounters and transitions.
Achievement Details
Infallible requires completion of eight separate sub-achievements, each linked to a different instance:
Down and Out: Spirit Vale
Down and Out: Salvation Pass
Down and Out: Stronghold of the Faithful
Down and Out: Bastion of the Penitent
Down and Out: Hall of Chains
Down and Out: Mythwright Gambit
Down and Out: The Key of Ahdashim
Down and Out: Mount Balrior
Each sub-achievement corresponds to its own unique effect. Players will gain this effect at the beginning of each raid instance; killing all bosses in the instance while under this effect will grant the achievement. If any player goes Downstate, everyone in the instance will lose this effect, thus invalidating the run.
Players who leave the instance will also lose the effect: this limits character swapping, as every player who wishes to gain the achievement will have to remain in the instance continuously from beginning to end.
Marker Packs
Marker packs are add-ons that display custom trails, markers and other information visually in-game. They are commonly viewed using Blish HUD’s Pathing Module or TaimiHUD.
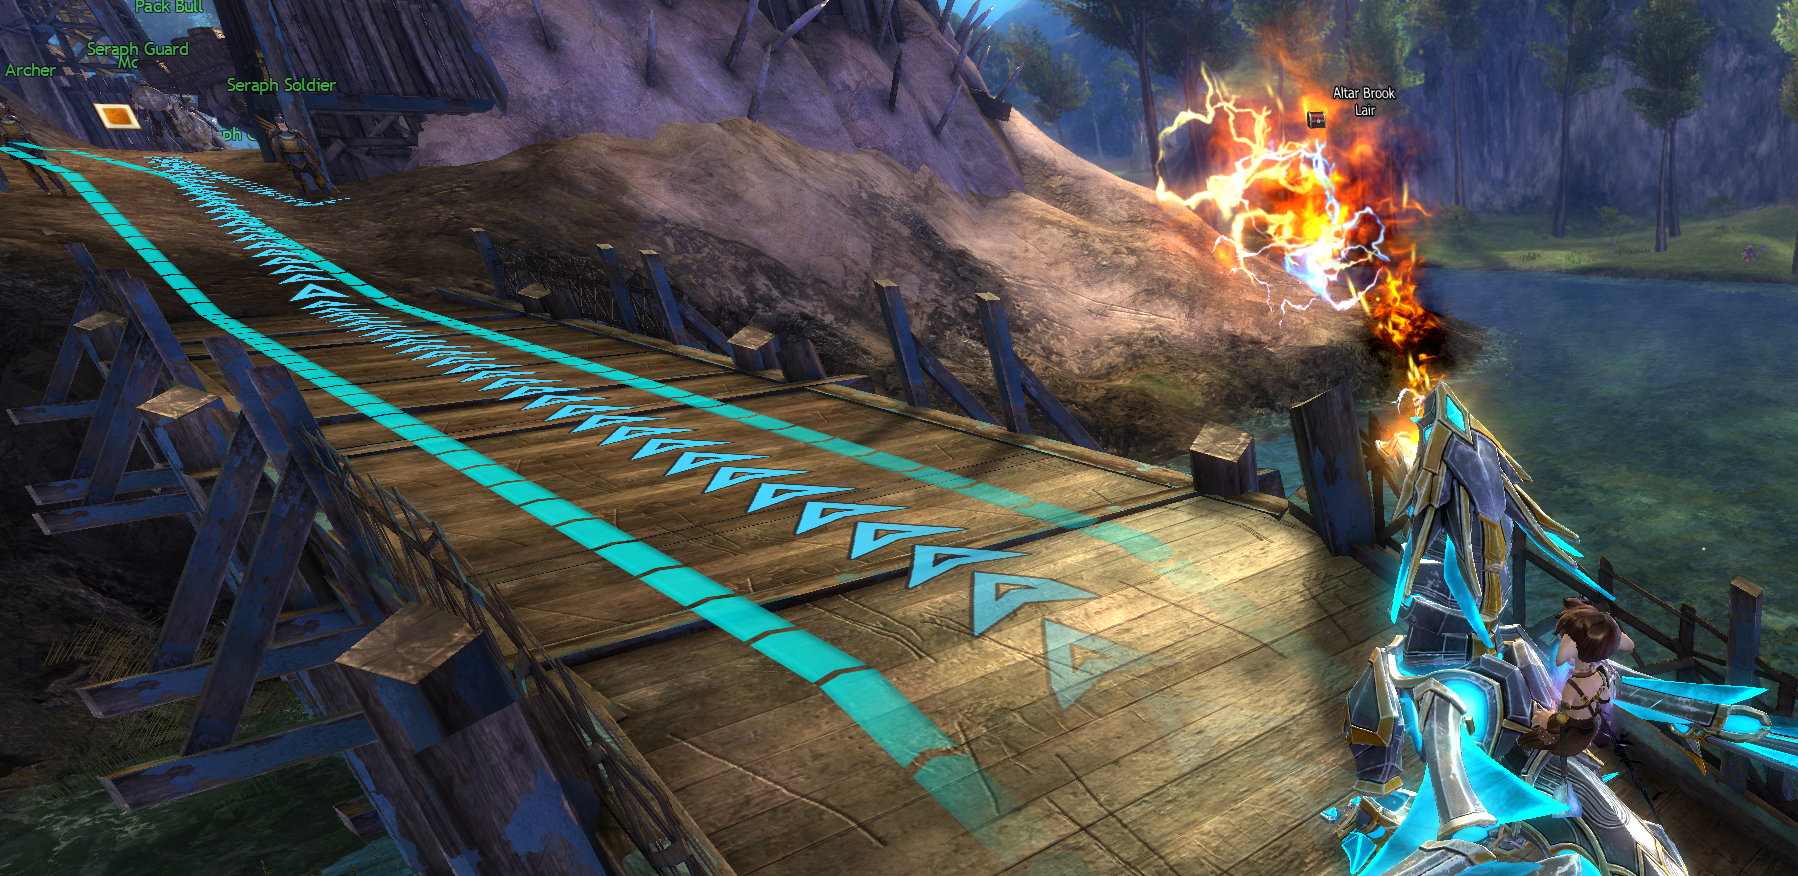
Several marker packs contain useful information for the purposes of this guide:
- HasKha’s Markers contains general raid markers, including for other difficult content such as Temple of Febe and Mount Balrior.
- PEAK Infallible Markers contains information on skips, jumping puzzles and skips for infallible.
It is highly recommended to use one or both of these packs. They enable clear callouts and easily display information that would be otherwise difficult to communicate.
This guide will assume that you have installed PEAK’s markers and reference them accordingly.
Solo-Healing
This is an important concept for raid speedrunning: it’s the practice of bringing only one healer for an encounter.
Boons and healing abilities are almost always capped to a maximum of five targets, prioritizing players in their source’s subgroup. For this reason, in a 10-man group, it’s standard practice to bring two healers, with each supporting their own sub.
However, the damage pressure in some encounters is low enough that it is possible to bring only one healer. This is because of the overhealing mechanic, wherein if a player’s own subgroup is full health, any additional healing will transfer over to the other subgroup. This is called solo-healing.
Solo-healing is extremely advantageous for speedrunning groups, as it generally results in 10-15% increased damage. Sometimes, if incoming damage is low enough (on bosses such as Keep Construct) or affects some part of the squad predominantly (such as on Xera), this singular healer can even bring a hybrid celestial build, resulting in even more damage. Sometimes, on especially low-damage fights such as Mursaat Overseer, it is even possible to run no healers at all.
The disadvantage is the inherent risk of bringing one less healer: misplays are more likely to lead to Downstates, requiring everyone in the squad to pay more attention.
Groups that are solo-healing must additionally pay careful attention to the subgroup without a healer, as it will often have less support. BoonDPS in this sub should be able to cover all boons that a healer normally would. Protection is especially important to mitigate incoming damage. Any classes that can provide passive healing or barrier are also extremely valuable.
Food Swapping
This is a technique used to increase DPS on encounters that spawn minor enemies alongside the main boss. It involves consuming food items that grant temporary stats on kill (such as  Dragon’s Breath Buns) just before an enemy dies, and then immediately applying another food with a flat effect, commonly an Ascended Feast. This effectively grants both the temporary and the flat bonus simultaneously, resulting in a “free” boost.
Examples
HTCM DPS PoV by Airen
Gorseval WR by [MCA]
Food swapping is difficult and expensive, and is usually only done by experienced groups for a bit of additional damage: inexperienced players may sometimes even lose DPS attempting this technique.
Very skilled players will sometimes double or triple food swap, overlapping the bonuses from multiple on-kill sources for a massive stat bonus. An example would be swapping between Dragon’s Breath Buns and  Block of Tofu.
Food swapping does not work on every encounter in the game. For example, in the Spirit Vale it works on Vale Guardian and Gorseval’s split phases, but not on Sabetha’s.